
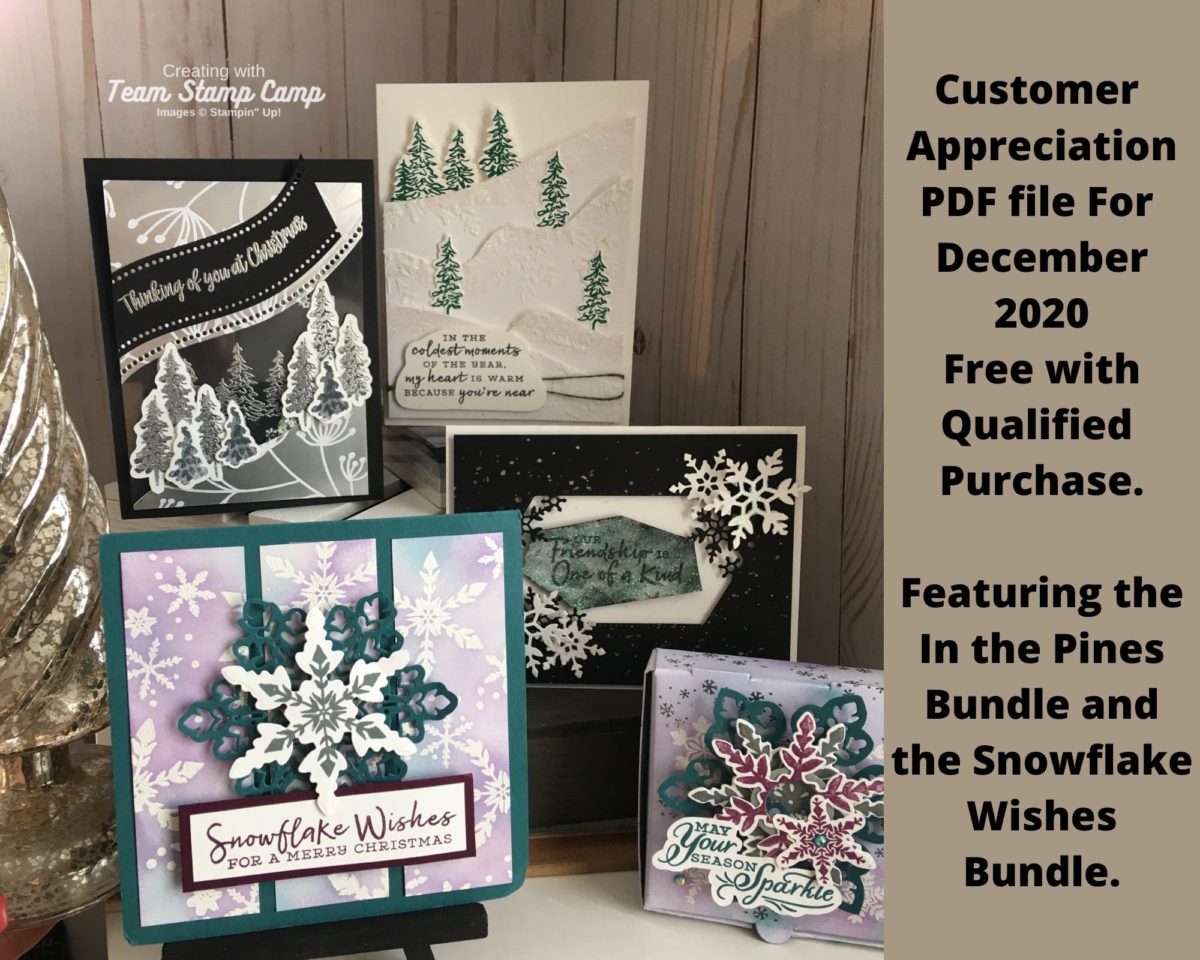
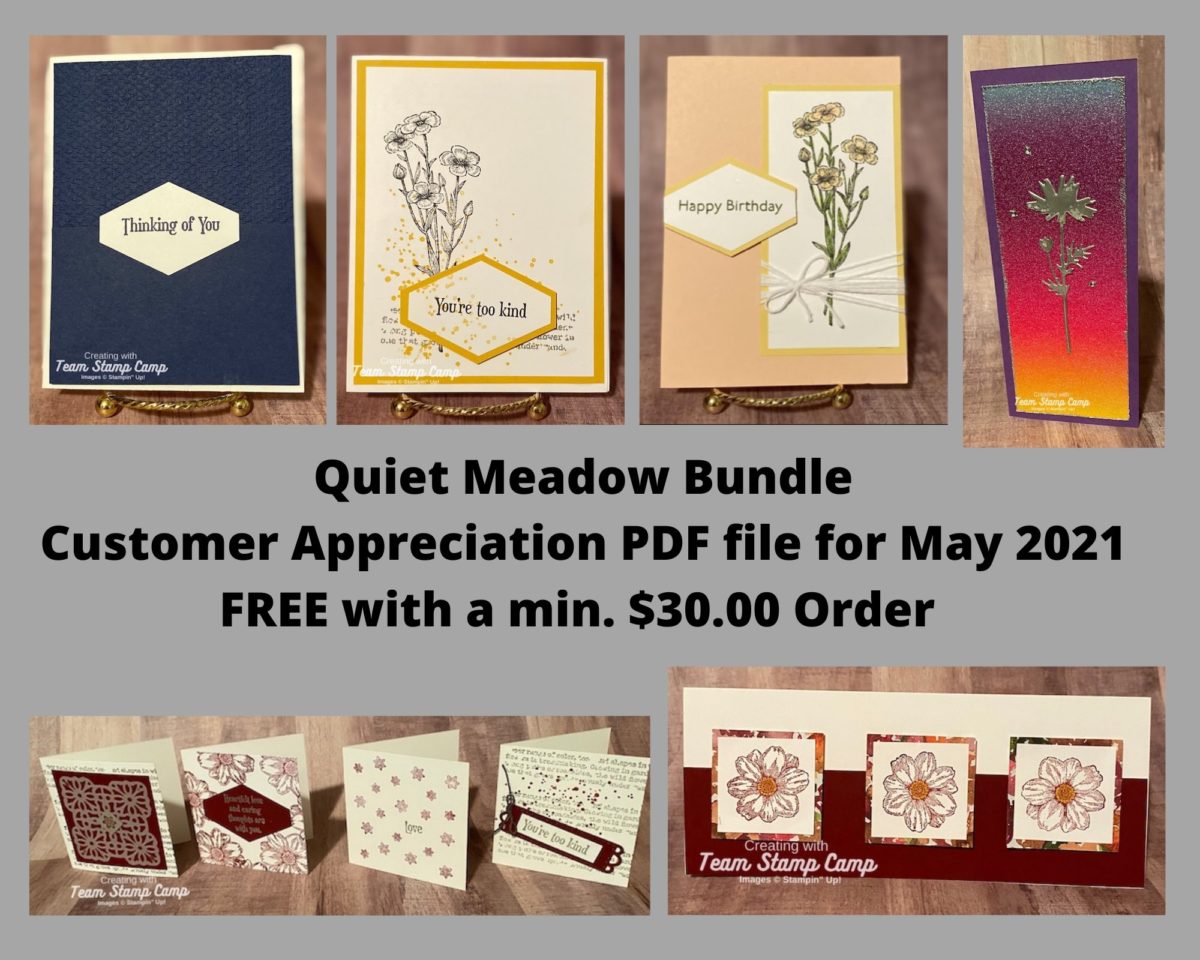
Hello Friends… WooHoo! Sale-a-bration is ‘NOW’ in full swing! Stampin’ Up has definitely started 2021 with a ‘BIG BANG’ on the newly released January-June Mini and Sale-a-bration catalogs! CLICK HERE: to view the January-June Mini, CLICK HERE: to view the Sale-a-bration! By placing an order of $30 or more through my website or me, you’ll receive a free Appreciation PDF full of instructions on how to create 5 or more projects, receive more when you up your order to $50 or more, you’ll receive BOTH a free Sale-a-bration item and the Appreciation PDF.
This slimline card is featuring the new stamp set ‘Hydrangea Haven’ stamp set! This set is a real beauty not to mention it has a total of 22 stamp images, a great value for the money.

Supplies:
- Stamp Set: Hydrangea Haven #154470
- Cardstock: Basic White #159276, Gorgeous Grape #146987, Basic Black #121045
- Ink: Granny Apple Green #147095, Coastal Cabana #147097, Gorgeous Grape #147099, Versamark #1092283
- Stampin’ Blend Combos: Granny Apple Green #154885, Bermuda Bay #154878
- Miscellaneous: Blending Brushes #153611, White Stampin’ Embossing Powder #109132, Frost White Shimmer Paint #147046, Pearl Basic Jewels #144219, Pastel Pearls #154571, Layering Square Dies #151772
Instructions:
- Card base measures 7 x 8 1/2, score the 7″ side at 3 1/2″. Fold on the score line and burnish the fold.
- Adhere a 3 1/4 x 8 1/4 Gorgeous Grape matte to the card base front.
- Use a blending brush to blend Granny Apple Green, Coastal Cabana, and Gorgeous Grape ink on a 3 x 8 Basic White panel. Layer and adhere the panel to the card base front.
- Use the Layering Squares to create (3) 2″ scalloped frames.
- Cut (3) 1 7/8 Basic White squares. Stamp a hydrangea flower in the corner of each square, using only one color on each of the squares. Stamp/fill in the open space by using the second generation image in it’s matching color. Adhere each square and frame together.
- Use a blending brush and Granny Apple Green ink to color a scrap piece of Basic White. Stamp three sets of hydrangea leaves in Granny Apple Green ink onto the inked scrap. Hand cut each set of leaves and attach to the corner of each square.
- Use a Granny Apple Green and Bermuda Bay Stampin’ Blend to color two Pearl Basic Jewels, the third pearl can either be colored by using Highland Heather or simply use the new Pastel Pearls (they are gorgeous). Adhere the pearls to the corner of the frame that each set of leaves are adhered too.
- Paint Frost White Shimmer Paint on each hydrangea square, this will give each flower a beautiful shimmer.
- Adhere each square (in any arrangement that suites your liking) to the card base front using dimensionals.
- Stamp the sentiment on a scrap of Basic Black cardstock using Versamark ink. Heat emboss the sentiment using White embossing powder. Hand cut the sentiment and attach to the bottom square using dimensionals.

Thank you so much for stopping in, I’m thrilled beyond words! Please subscribe to blog if you’ve not already done so! I’ll be wearing even a bigger smile if you do!
Thank you again, may God bless and keep you!
Hugs,
LeAnn


